The Beginnings of Our Beekeeping Journey
In late February Ty and I attended a 3-day Beginning Beekeeping class taught by our County Extension Agent. It was my first exposure to learning anything about honeybees.
Personally, I have always had an aversion to bees in general, and I never paid much attention to learning anything about them. I just knew they stung, and I didn’t want to get stung.
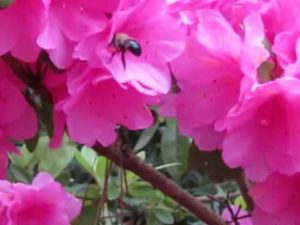 When we first moved into my grandparents’ home over ten years ago, they had big azalea bushes by the front door, and I always hated going through the front door in the summer because these giant furry bees (bumble bees) would be lingering right there, buzzing loudly.
So, I typically just stayed inside.
Ty kept telling me they wouldn’t bother me as long as I didn’t bother them, but that didn’t stop me from wanting to steer clear from them no matter what. Over time I got a little braver, but not much.
Fast forward to a few months ago, I started to learn more about honey bees in particular, and I realized how little I understood about these creatures.
Identifying the Honey Bees
There are three types of honey bees: the worker, the queen and the drone.
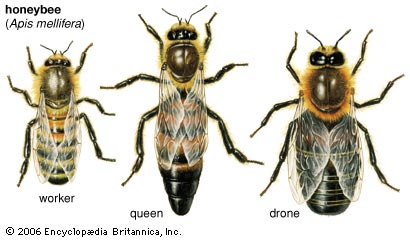 The majority of the honey bees in the hive are worker bees. They are female and are mostly infertile. They are the smallest of the three, and they do all the work of pollinating, foraging, and building wax.
The queen bee is the heart of the hive. She is notably different looking, with a bigger, longer body. Typically there is only one per hive. She lays all the eggs.
The drone bees are the males whose only job is to mate with the queen bee. They have big eyes and a fuzzy back.
Assembling the Hive Set Up
At the recommendation of others, we decided to start out with two hives, so we’re having to provide double of everything.
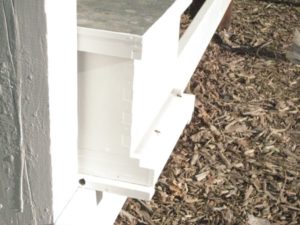
The basic setup of the kind we’re using consists of a deep brood box, with ten frames of foundation inside. It has an open top and bottom.
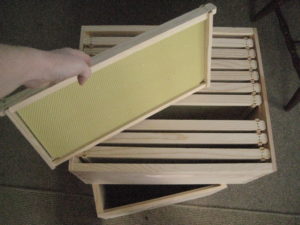
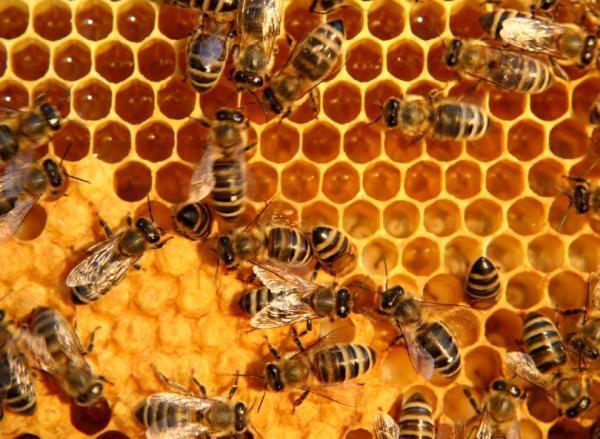
This is where the worker bees will build their comb (a network of cells) for the queen bee to lay her eggs.
This is also where they store their honey while the brood (unhatched bees) is developing.
They build the comb on both sides of the foundation, moving from frame to frame, bringing in pollen for the brood. The queen will then lay her eggs and the worker bees will cap the cells.
When the hive is really booming with new life, and the majority of the frames are filled up, we’ll need to add another brood box on top, so the queen will continue to have room to lay her eggs. If the queen starts to think there’s not enough room, then there’s the potential of her going elsewhere to lay her eggs, and the whole hive will leave to follow her, and not come back. This is what’s called swarming.
In addition to the brood box, we have an inside cover and an outside cover that sits on top, and all of this sets on top of a 3-sided bottom board with one side open as an entrance way for the bees to come in and go out.
There are other pieces that we’ll incorporate down the road when there’s a need to store up excess honey for the hive: shallow boxes with frames, called honey supers, and a screen, called a queen excluder, to keep the queen from traveling up into those frames and laying her eggs there.
For now, the bees will make their honey in the brood box and use it as needed throughout the spring & summer months.
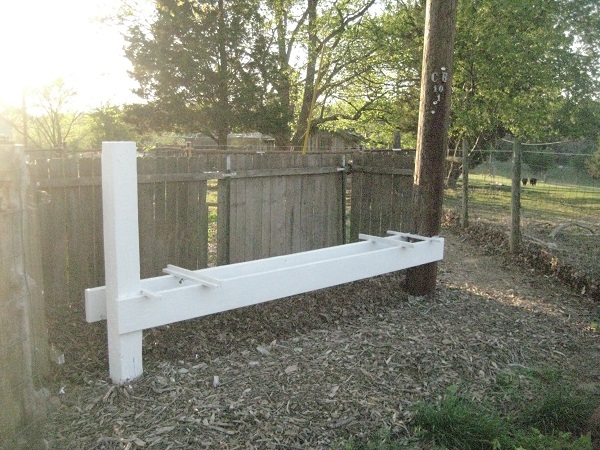
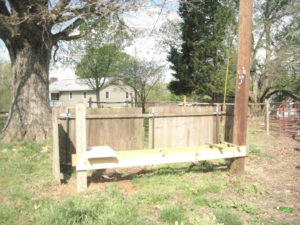 This entire setup sits on a shelf we made perched about two feet above the ground. Some folks just put them up on cinder blocks, but Ty liked the idea of something more permanent.
This is to keep any outside critters from messing with the hive.
Beekeeping Gear and Equipment
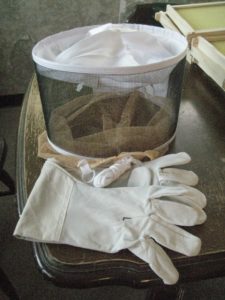 Given both our aversions to being stung we bought two sets of the recommended protective wear: veil and gloves.
One veil is by itself and just pulls over your head (pictured left). The other veil is attached to a long-sleeved jacket.
While it’s likely that only one of us (primarily Ty) will be working the boxes at a time, we wanted to have the extra set in case we were both needed simultaneously.
 And then there’s the smoker.
This is necessary to keep the bees calm. We just spray it at the entrance before messing with the boxes, and then when it’s time to lift the cover, we’ll give a few puffs into the box as we inspect the frames.
We use dried pine needles to keep it smoking.
We also bought a few front entrance feeders to supplement the bees diet until they are able to generate enough food for themselves. We don’t really like the idea of feeding them sugar water, but that’s our only option at the moment.
And then a hive tool bar is necessary. Part of the bees’ work in the hive is to seal up all the cracks, better insulating themselves. In doing this the covers, boxes and frames get stuck in place, so we’re going to need a little assistance to pry these things apart without upsetting the hive when the time comes to get into the box.
We also got a bee brush to wipe the bees off the frames when we need to get in there. I don’t know how necessary that tool is, but it might come in handy.
Setting Up the Apiary (Bee Yard)
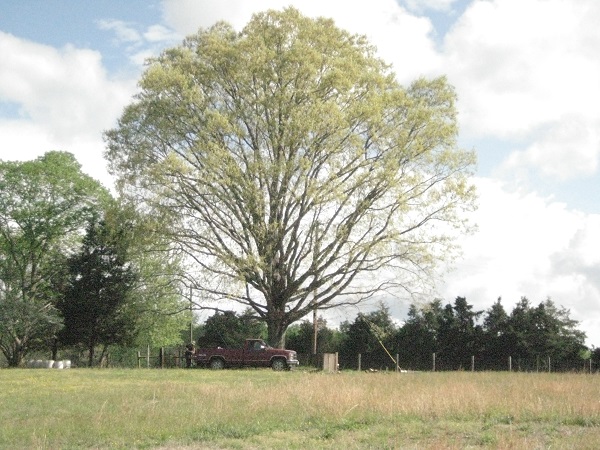
We chose the highest ground on our property under the shade of a big Oak tree for our Bee Yard. It already had an established gate and temporary fence around it, so our animals were not accustomed to getting in there.
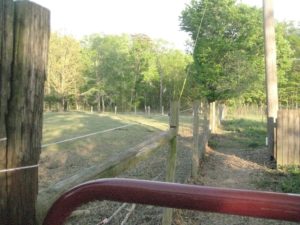
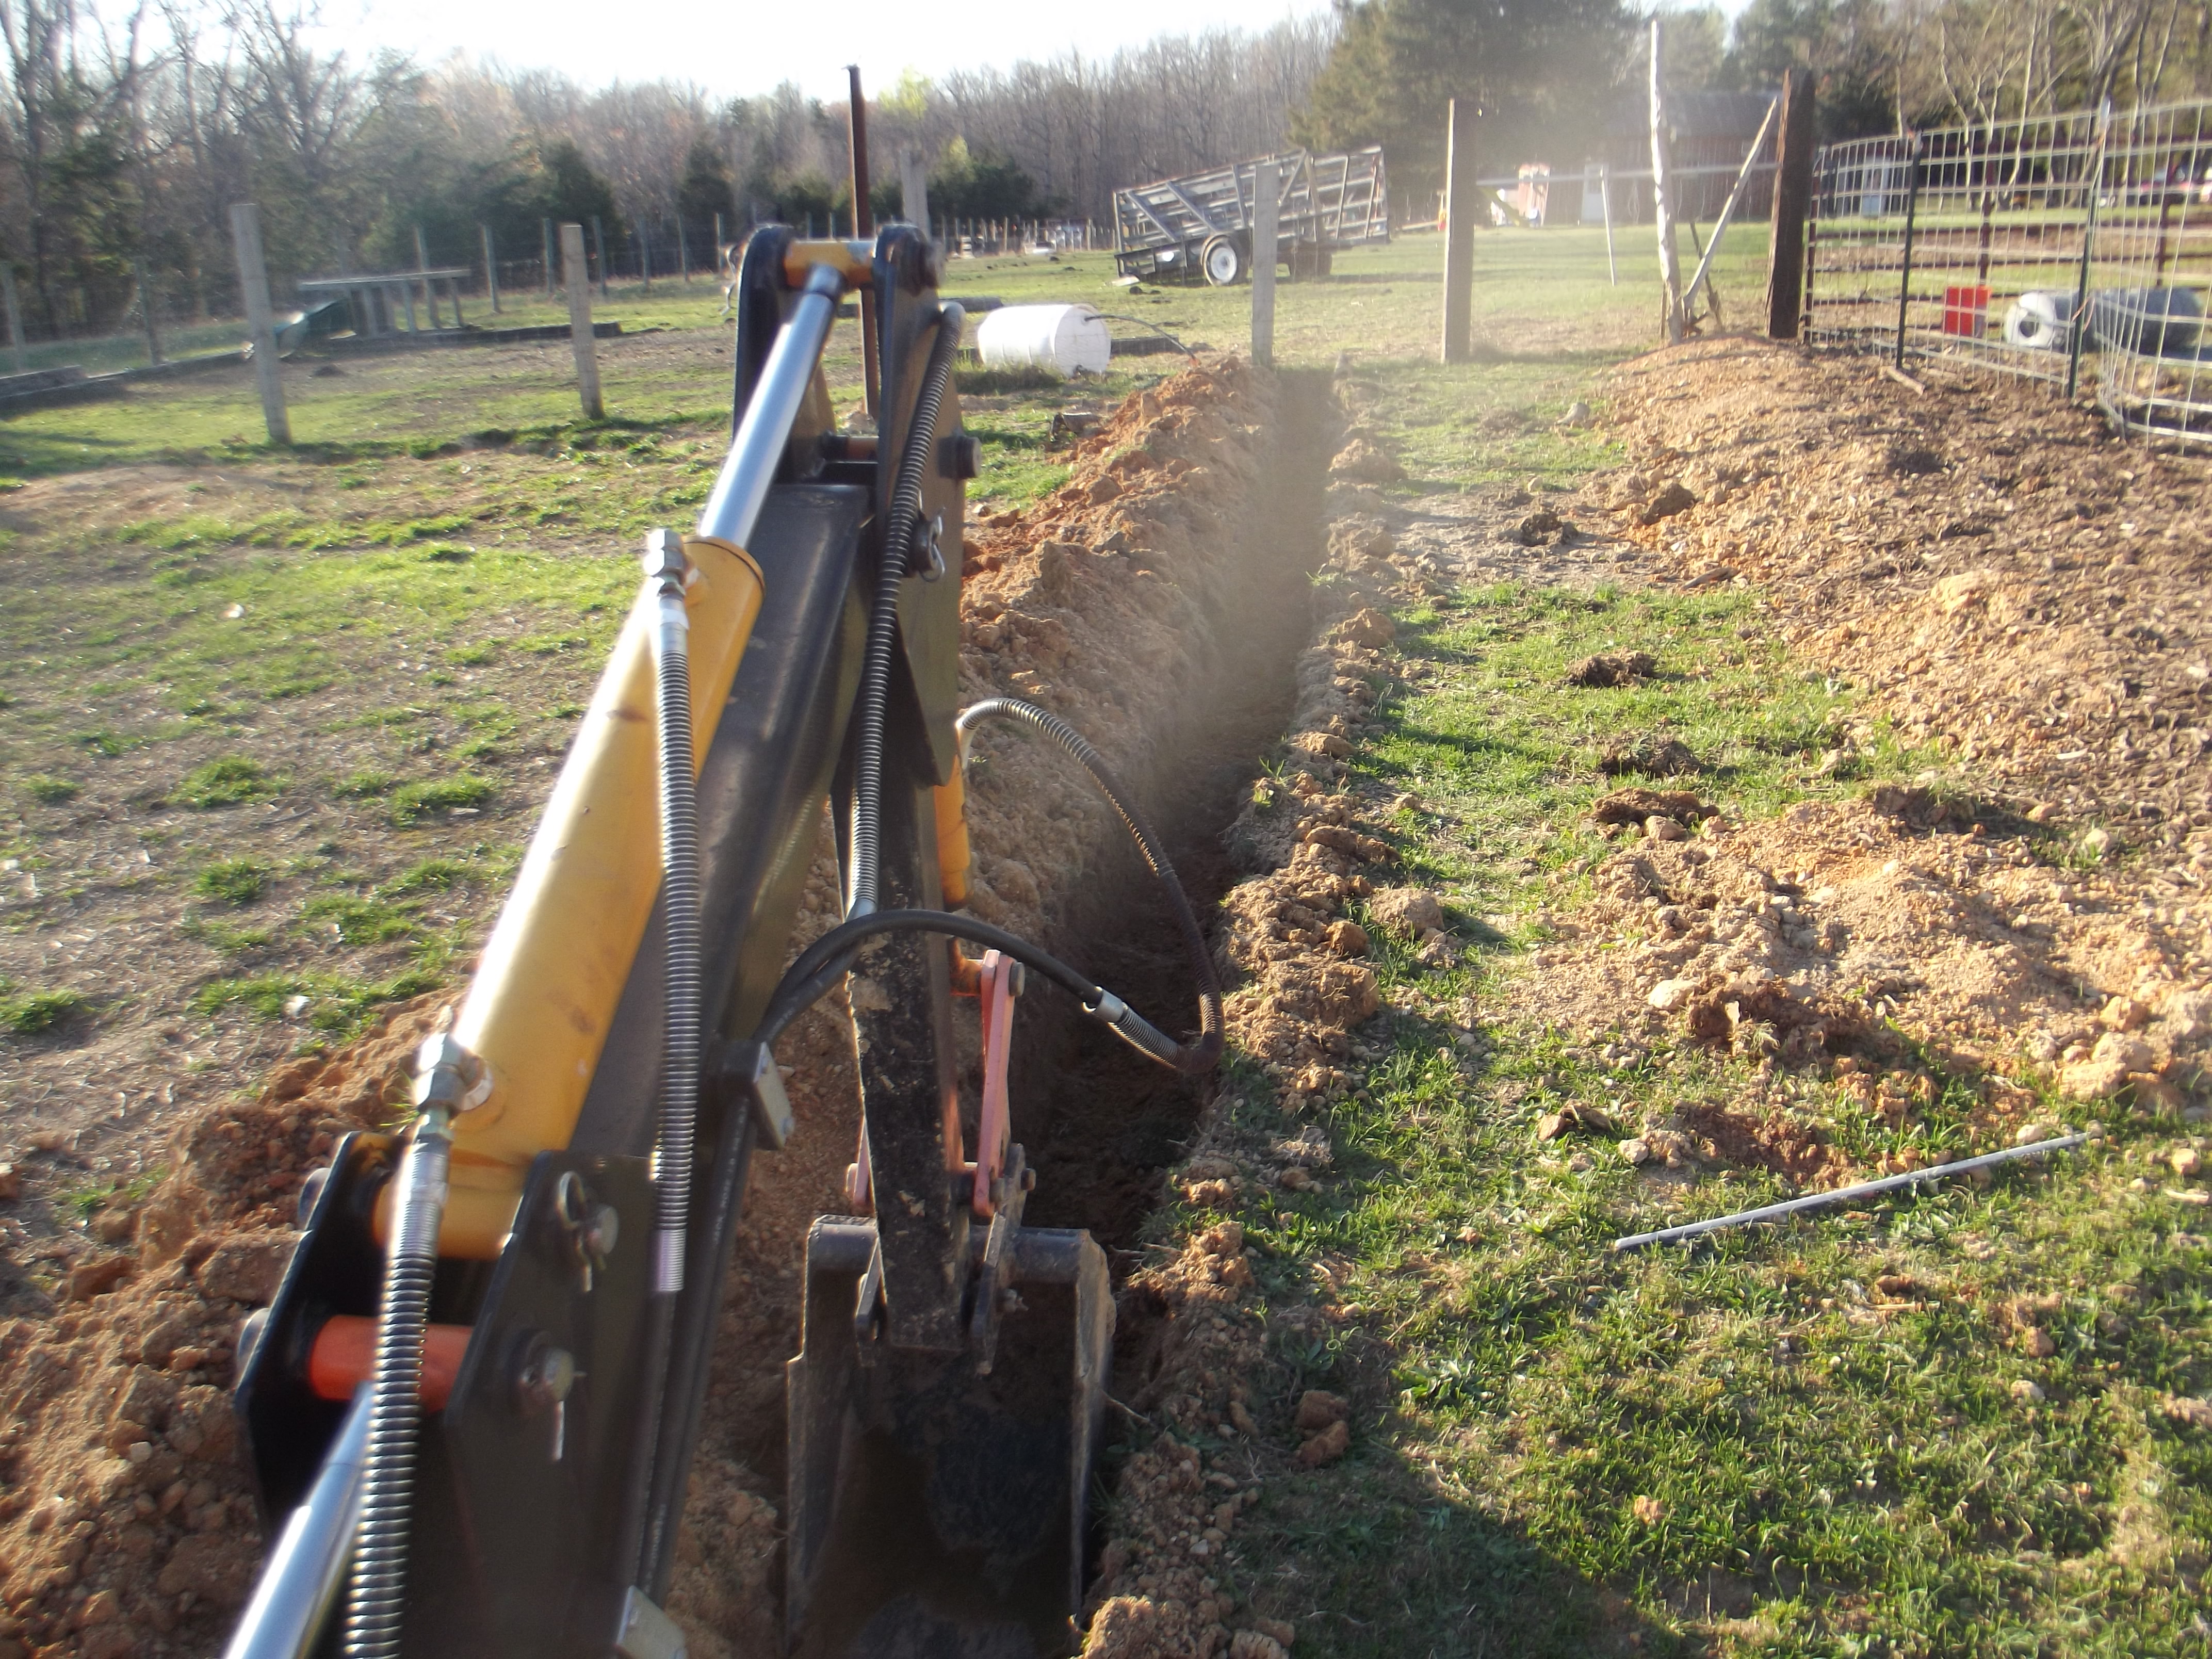
 We decided to replace the fence with a more permanent one using cedar logs from our land and new wire. This should keep most critters out.
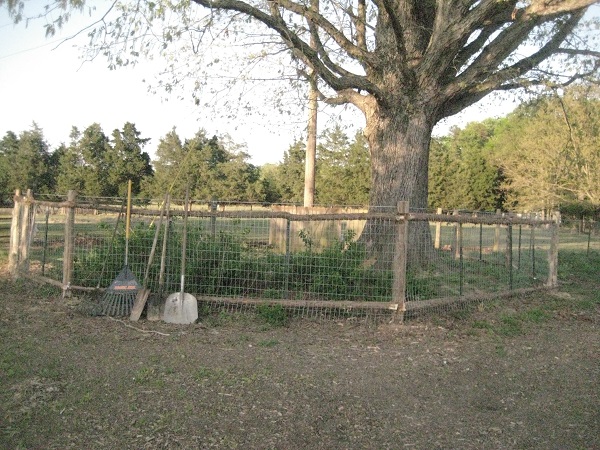
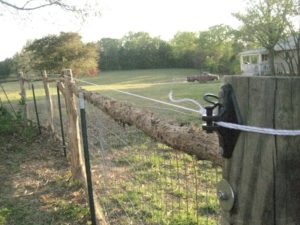
We also installed an electric wire across the top just in case any bigger creatures (say, a bear) happen along.
The actual beehives were going to be set up on the eastern side of the tree with an additional picket fence behind it to serve as a windbreak. We laid down landscape fabric under the shelf/bench that will hold the hive boxes and covered it with mulch: dried leaves in the back and wood chips in the front.
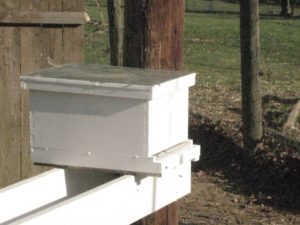
We primed and painted the boxes and the bench white to withstand the weather conditions over time.
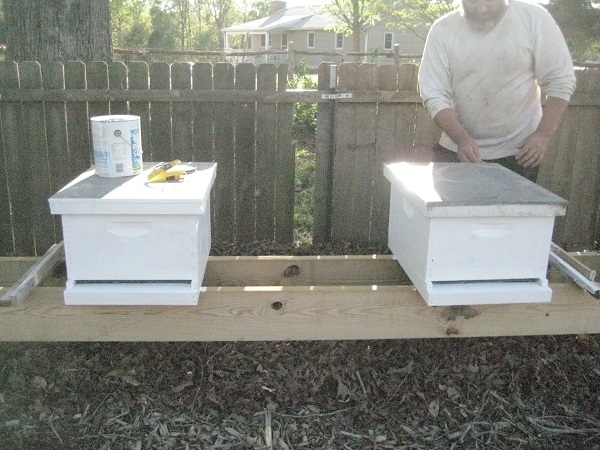
 When all was completed, we packed the boxes up, and Ty headed out that evening to our beekeeping neighbor’s house to pick up the two starter hives.
He arrived home after dark and set them up at opposite ends on the bench, facing the morning sun.
Welcome Home, Honeybees!
Here’s a video clip of me checking on the bees the morning after we picked them up from a local beekeeper who was splitting his hives.
This officially marks the beginning of a new chapter in our homesteading experience.
Why We Chose to Keep Bees
Our main purpose in keeping the bees is to have a more holistic approach to managing our land and animals. The honeybees provide a vital service to the ecosystem: pollination.
The honey they produce is primarily for them…it is their food for the winter. We don’t want to extract any honey until we know there is plenty for them to live off of.
Eventually we hope to harvest some honey for our own use, but we’re not expecting to do so this year. For now, we look forward to just enjoying their company and making their stay as comfortable as we can.

2 Comments
brian
If you find Paul Wheaton’s permies.com interviews with Jacqueline Freeman on bee raising and bee health, etc., one can learn a lot about these special critters.
Carrie
Thanks, Brian.
We just recently had our hives swarm. 🙁 Our son saw them up in a tree but neglected to tell us until it was too late. (He didn’t understand what was going on.) There are still some bees hanging around the bee boxes. My husband will likely be opening up the boxes after this weekend to inspect and see what we can do going forward.